Back bridge / shoulder supported
Mat / Solo mat / Foundation
Lying on the back, the feet press and the hips lift into a shoulder-supported bridge, held for a breath and lowered.
Solo study. Solo rehearsal of a shape a coach has already shown you. No partner, no resistance, no finish against anyone. Not coach-verified.
Why it matters
Bridging is how a wrestler keeps the shoulders off the mat, and the version that belongs in a solo study is the one supported by the feet and shoulders. The neck bridge exists; it is not taught here, and this shape is what a coach will build it from if they choose to.
The phases
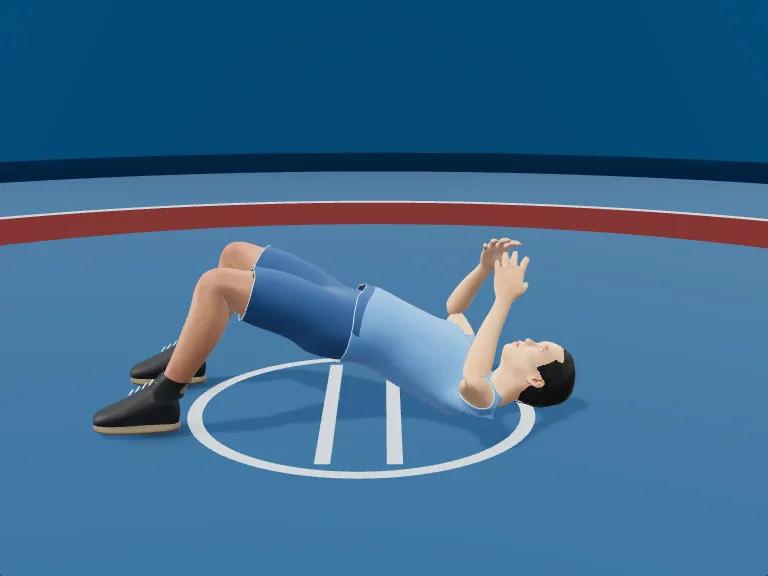
Back bridge, shoulder supported
- Feet planted. Lie on the back with the feet flat and the knees bent.
- Press through the feet. Press through the feet and shoulders; the head is not the support.
- Hips up. Lift the hips through a comfortable range and hold for a breath.
- Lower. Lower under control rather than dropping.
Watch for: This is the shoulder-supported bridge. It does not load the crown of the head, and it is not a neck bridge.
Three common faults
- Loading the head
- The weight moves on to the crown. Shoulders and feet carry it; the head rests, it does not push.
- Feet sliding out
- The heels drift away and the hips drop. Feet planted close to the hips.
- Dropping down
- The hips fall to the mat at the end. Lower them as slowly as they were lifted.
In the room
- Feet flat, knees bent, press through the feet and shoulders.
- Lift the hips and hold for a breath.
- Lower under control. The head is not the support.
Drill prescription
| Rounds | 3 rounds |
|---|---|
| Repetitions | 6 bridges, 3 s hold each |
| Rest | 45 s |
Not a neck bridge. Do not load the head from this study.
Open the visual study ↗Where it sits
Defence and recovery: Sprawl, spin, front headlock, and getting back to a base from the mat.
Also in this stage: Solo sprawl / recover, Front headlock shape, Sprawl and spin behind, Seated-to-standing base.